

In this article, I have tried to integrate some of the great tools and libraries into a Streamlit Web App. It’s always good to deploy your models and findings from EDA on the web to make it presentable.
Everyone uses different tools for different parts of the project to be able to make predictions efficiently, but at times it becomes messy jumping from one service to the other. To overcome this chaos let’s have a look at how we can bring all of them under one roof.
Required Services:
- PowerBI Web Service
- Heroku account
- GitHub account
Required Libraries:
- numpy
- pandas
- streamlit
- scikit-learn
- pickle
Dataset: Cleaned Titanic dataset
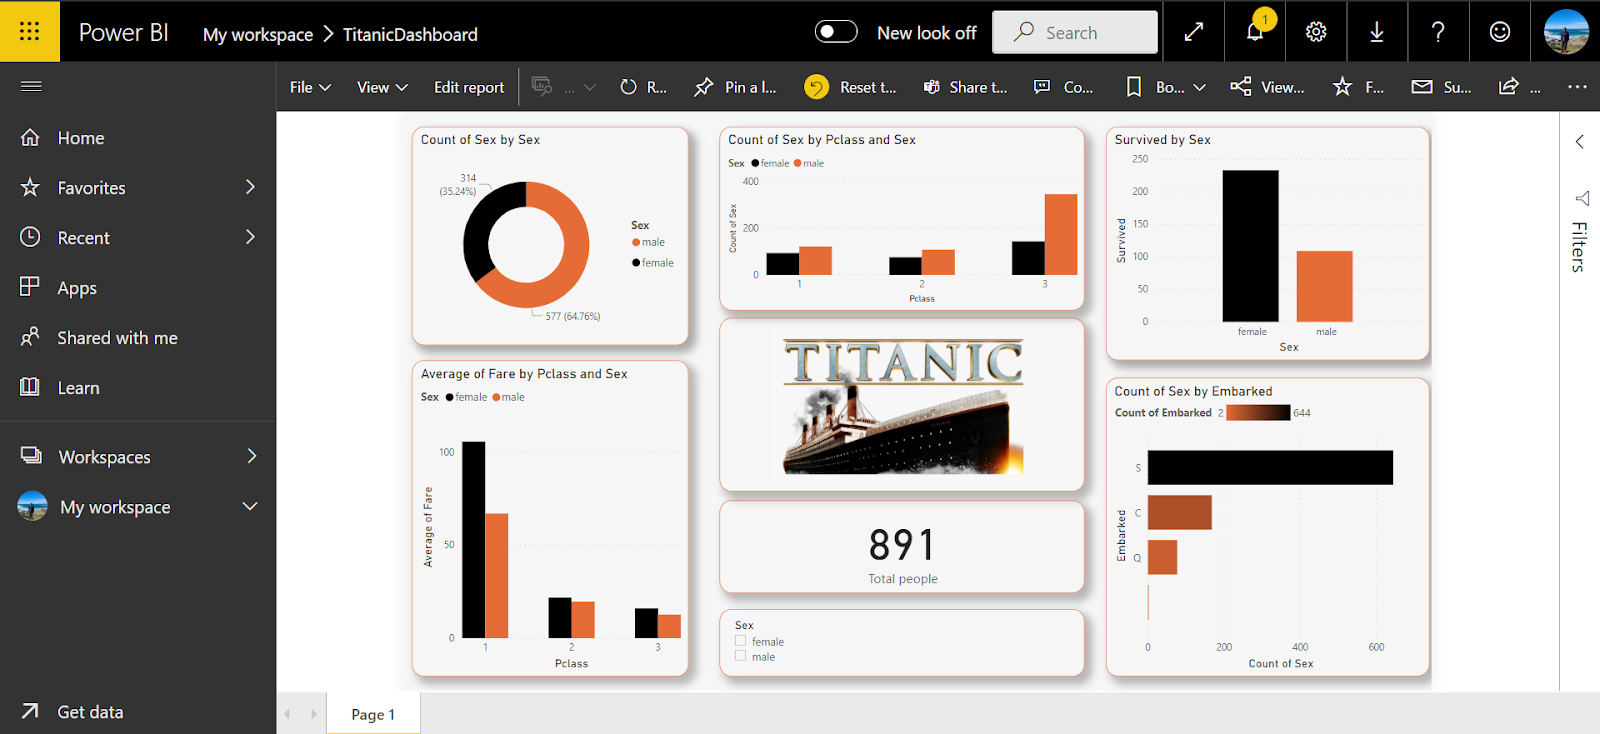
First let’s start with PowerBI. Below given is a simple dashboard made using PowerBI on a titanic dataset.
Once we have the dashboard, we need to get a link to embed it in the streamlit app. To fetch the url, go to File and click on Publish to Web. Doing this will generate a url which can be copied and used to render the dashboard onto the web app. Looking at the options closely, you’ll notice that the size of the dashboard can be tailored to your preference . Moving forward, let’s build our web app using streamlit. Name the app file as titanic-app.py

The above code gives you the below results
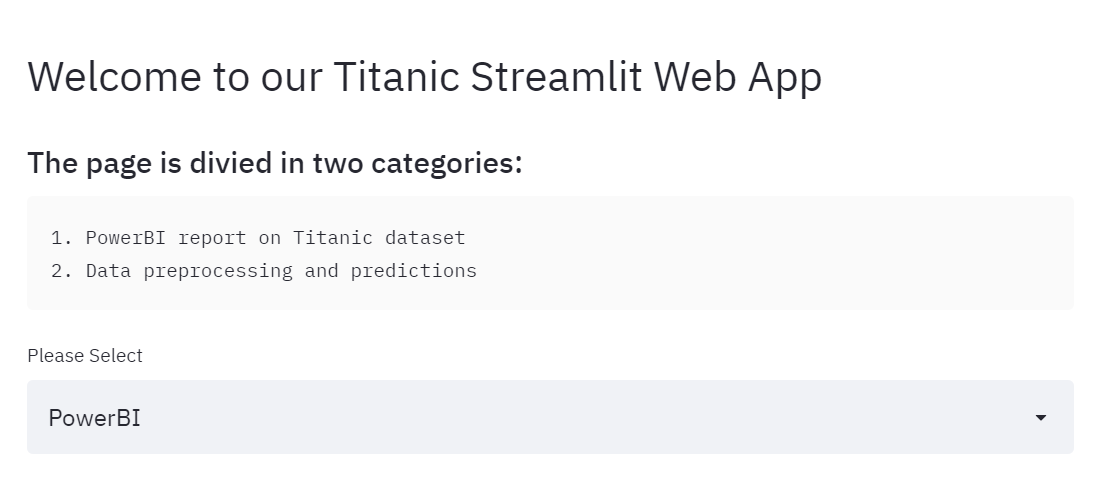
As mentioned in the web app, the app is divided in two sections which are namely the PowerBI report and Preprocessing & predictions. The st.selectbox option helps us to create a dropdown menu which consists both the above options. Further ahead, now let’s connect our PowerBI report to the app.
If options == PowerBI:
st.markdown(“link copied from powerbi web service”,unsafe_allow_html=True)
Once you perform this step, the web app will be able to render the report and will look like the image below.

Next, let’s make a model and save it in pickle file to avoid recalculation of the model every time. For this example, I have used simple Logistic Regression from Scikit-learn for binary classification. Our target variable is Survived. Let us see, how to make a pickle file. Name the model building file as titanic_model.py.

Once this file is created, open your terminal, and run this file by executing the following command:
python titanic_model.py
After the successful execution of the file, you’ll find a file named titanic_clf.pkl in the same directory. This file contains your saved model and will be used for classification later.
Let’s complete the remaining part of the app.

The else part contains the logic behind pre-processing and predictions. The above code imports the titanic dataset and prints out the first 5 rows of the dataset. It also designs a sidebar with sliders and dropdowns to adjust the values of the input parameters and prints out those values for reference. To understand the spread of the dataset, the app shows outputs of df.describe() and df.info().
Moving on to the data splitting, X is the set of our independent variables and Y is our dependent variable. 33% of the data is left out for testing of the model.

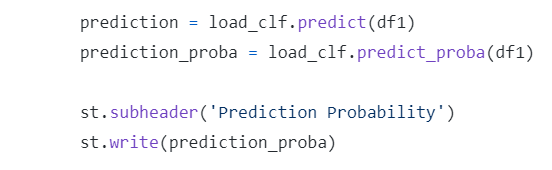
On completion of our data preparation, let’s use our pre trained model saved in the pickle file and generate probabilities for the respective classes.
After the execution of the code for the second part of the app, it looks something like this.

We can see that the app has taken its shape. The last step is to deploy to a platform to make it publicly available. The deployment can be done on azure, aws, gcp, Heroku etc. In this article I am going to show you how to do it using Heroku.
Having said that, let’s upload all of our files to a GitHub repository. Apart from the files that are known, there are 3 other important files that we need to consider too.
- Profile

- setup.sh
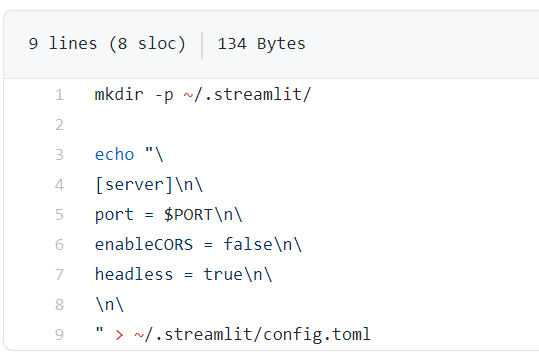
- requirements.txt

The below image shows how your GitHub repository should look like.

In my case the name of the app is penguins-app.py.
Once the repository up and running, let’s move to deployment with Heroku.

After you login with your credentials, this is how your Heroku portal will look like. To make a new app, click on new and hit create new app.

Input your custom app name and select your preferred region. Selecting the app name could be tricky at times. It’s like selecting a username so you’ll have to check the availability and select the appropriate name for your app.
After hitting create, we witness 3 different options to link our app files to Heroku. For the sake of this article and simplicity we’ll stick to upload code from GitHub.
Connect your GitHub with Heroku by following the instructions on the screen if you’re doing it for the first time. Once the connection is established, select the repository where your code is uploaded and click connect. Now, scroll down to the manual deploy section, select the appropriate branch from the repository, click deploy and wait for it to complete all installations and ensure that all the requirements and dependencies are satisfied. If all the steps mentioned above have been followed methodically and have resulted in zero errors, then you should be able to see your app running by clicking on “View”.
This is how it would look after deployment and the url associated with that is sharable and can also be accessed on android or ios devices.
There you have it! An easy way to deploy your ML Models and dashboard.