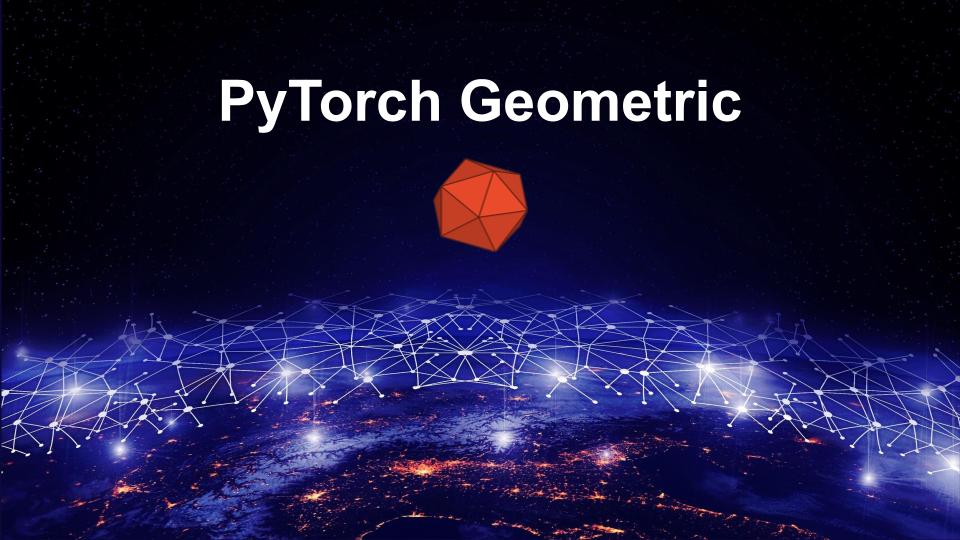
Released under MIT license, built on PyTorch, PyTorch Geometric(PyG) is a python framework for deep learning on irregular structures like graphs, point clouds and manifolds, a.k.a Geometric Deep Learning and contains much relational learning and 3D data processing methods. Graph Neural Network(GNN) is one of the widely used representations learning methods but the implementation of it is quite challenging as the throughput of GPU needs to be achieved on highly sparse and irregular data of varying sizes. PyG overcomes this bottleneck by providing dedicated CUDA kernels for sparse data and mini-batch handlers for varying sizes. Methods implemented in PyG framework are supported by both CPU and GPU.
PyTorch Geometric was submitted as a workshop paper at ICLR 2019, as FAST GRAPH REPRESENTATION LEARNING WITH PYTORCH GEOMETRIC. The framework was developed by Matthias Fey, eJan Eric Lenssn from TU Dortmund University.
Overview of PyTorch Geometric
In PyG, a graph is represented as G = (X, (I, E)) where X is a node feature matrix and belongs to ℝN x F , here N is the nodes and the tuple (I, E) is the sparse adjacency tuple of E edges and I ∈ ℕ2 X E encodes edge indices in COOrdinate (COO) format and E ∈ ℝE X D holds D-dimensional edge features. All the API’s that users can use are inspired from PyTorch framework itself, so that the usage of PyG should be familiar.
Functionalities provided by PyG :
- Neighbourhood Aggregation
- Global Pooling
- Hierarchical Pooling
- Mini-Batch Handling
- Processing of Datasets
You can check all the algorithms supported by PyTorch Geometric here.
Requirements & Installation
Install all the requirements of PyTorch Geometric and then install it via PyPI.
- PyTorch >= 1.4.0
For checking the version of PyTorch, run the mentioned code:
!python -c "import torch; print(torch.__version__)"
- Check the version of CUDA installed with PyTorch.
!python -c "import torch; print(torch.version.cuda)"
- Install the dependencies :
Replace TORCH with the PyTorch version and CUDA with the CUDA version which you are using. Might take some time to install.
 !pip install torch-scatter -f https://pytorch-geometric.com/whl/torch-${TORCH}+${CUDA}.html
 !pip install torch-sparse -f https://pytorch-geometric.com/whl/torch-${TORCH}+${CUDA}.html
 !pip install torch-cluster -f https://pytorch-geometric.com/whl/torch-${TORCH}+${CUDA}.html
 !pip install torch-spline-conv -f https://pytorch-geometric.com/whl/torch-${TORCH}+${CUDA}.html
- Install PyG:
!pip install torch-geometric
For installing from other sources, refer here.
Basics of PyTorch Geometric
- First example refers to the data handling.
Creating an unweighted and undirected graph with three nodes and four edges. Each node contains exactly one feature as shown below :

 #import the libraries
 import torch
 from torch_geometric.data import Data
 #making the edge
 #the tensor defining the source and target nodes of all edges, is not a list of index tuples
 edge_index = torch.tensor([[0, 1, 1, 2],
                            [1, 0, 2, 1]], dtype=torch.long)
 #making nodes
 #Node feature matrix with shape [num_nodes, num_node_features]
 x = torch.tensor([[-1], [0], [1]], dtype=torch.float)
 data = Data(x=x, edge_index=edge_index)
Above in edge_index, if you want to give indices, transpose the edge_index like this:
     edge_index = torch.tensor([[0, 1],
                            [1, 0],
                            [1, 2],
                            [2, 1]], dtype=torch.long)
And call contiguous on data constructor. Example is shown below:
data = Data(x=x, edge_index=edge_index.t().contiguous())
You can check out all the utilities of data handling here.
- Common Benchmark Datasets
PyG contains many benchmark datasets e.g., : all Planetoid datasets (Cora, Citeseer, Pubmed), all graph classification datasets from http://graphkernels.cs.tu-dortmund.de and their cleaned versions, the QM7 and QM9 dataset, and 3D mesh/point cloud datasets such as FAUST, ModelNet10/40 and ShapeNet. An example of loading the benchmark dataset is shown below:
 from torch_geometric.datasets import TUDataset
 dataset = TUDataset(root='/tmp/ENZYMES', name='ENZYMES')
You can check all the functionalities of benchmark datasets in PyG here or here.
- Mini-Batches
PyG provides torch_geometric.data.DataLoader for merging the data objects to a mini batch. An example of it, is shown below:
 from torch_geometric.datasets import TUDataset
 from torch_geometric.data import DataLoader
 dataset = TUDataset(root='/tmp/ENZYMES', name='ENZYMES', use_node_attr=True)
 loader = DataLoader(dataset, batch_size=32, shuffle=True)
 for batch in loader:
     print(batch)
     print(batch.num_graphs)
You can learn more about it from here.
- Data Transforms
PyG provides its data transformation utility whose input is Data object and output is transformed Data object. Further, it can be concatenated via torch_geometric.transforms.Compose and are applied before saving a processed dataset on disk (pre_transform) or before accessing a graph in a dataset (transform).
For example, we have taken a ShapeNet dataset.
 import torch_geometric.transforms as T
 from torch_geometric.datasets import ShapeNet
 dataset = ShapeNet(root='/tmp/ShapeNet', categories=['Airplane'],
                     pre_transform=T.KNNGraph(k=6))
 dataset[0]
Learn more functionality here.
- Learning methods on Graphs.
This section will create a graph neural network by creating a simple Graph Convolutional Network(GCN) layer. The whole experiment is based on the Cora dataset.
- Import the cora dataset.
 from torch_geometric.datasets import Planetoid
 dataset = Planetoid(root='/tmp/Cora', name='Cora')
 print(f'Dataset: {dataset}:')
 print('======================')
 print(f'Number of graphs: {len(dataset)}')
 print(f'Number of features: {dataset.num_features}')
 print(f'Number of classes: {dataset.num_classes}')
- Calculate the statistics on the dataset and visualize it.
 data = dataset[0]
 # Gather some statistics about the graph.
 print(f'Number of nodes: {data.num_nodes}')
 print(f'Number of edges: {data.num_edges}')
 print(f'Average node degree: {data.num_edges / data.num_nodes:.2f}')
 print(f'Number of training nodes: {data.train_mask.sum()}')
 print(f'Training node label rate: {int(data.train_mask.sum()) / data.num_nodes:.2f}')
 print(f'Contains isolated nodes: {data.contains_isolated_nodes()}')
 print(f'Contains self-loops: {data.contains_self_loops()}')
 print(f'Is undirected: {data.is_undirected()}')
 from torch_geometric.utils import to_networkx
 G = to_networkx(data, to_undirected=True)
#helper function, check colab notebook mentioned in endnotes
 visualize(G, color=data.y)
The output will be :
- Create a two-layer GCN network.
 import torch
 import torch.nn.functional as F
 from torch_geometric.nn import GCNConv
 class Net(torch.nn.Module):
     def __init__(self):
         super(Net, self).__init__()
         self.conv1 = GCNConv(dataset.num_node_features, 16)
         self.conv2 = GCNConv(16, dataset.num_classes)
     def forward(self, data):
         x, edge_index = data.x, data.edge_index
         x = self.conv1(x, edge_index)
         x = F.relu(x)
         x = F.dropout(x, training=self.training)
         x = self.conv2(x, edge_index)
         return F.log_softmax(x, dim=1)
The following network contains two GCNConv layers which are used in forward pass of the model.Here, we chose to use ReLU as our intermediate non-linearity between and finally output a softmax distribution over the number of classes.
- Let’s train this model on the train nodes for 200 epochs.
 device = torch.device('cuda' if torch.cuda.is_available() else 'cpu')
 model = Net().to(device)
 data = dataset[0].to(device)
 optimizer = torch.optim.Adam(model.parameters(), lr=0.01, weight_decay=5e-4)
 model.train()
 for epoch in range(200):
     optimizer.zero_grad()
     out = model(data)
     loss = F.nll_loss(out[data.train_mask], data.y[data.train_mask])
     loss.backward()
     optimizer.step()
- Evaluate the model on test data.
 model.eval()
 _, pred = model(data).max(dim=1)
 correct = int(pred[data.test_mask].eq(data.y[data.test_mask]).sum().item())
 acc = correct / int(data.test_mask.sum())
 print('Accuracy: {:.4f}'.format(acc))
You can learn more about the creation of Graph Neural Network in PyTorch Geometric here.
You can check other examples here :
- Introduction: Hands-on Graph Neural Networks
- Node Classification with Graph Neural Networks
- Graph Classification with Graph Neural Networks
- Scaling Graph Neural Networks
- Point Cloud Classification with Graph Neural Networks
- Explaining GNN Model Predictions using Captum
Conclusion
This post discussed PyTorch Geometric for fast representation learning on graphs, point clouds, and manifolds. This framework is built upon PyTorch and easy to use. It consists of various methods for Geometric Deep learning. It provides an easy-to-use mini-batch loader, multi GPU-support, benchmark datasets, and data transforms for arbitrary graphs and points clouds.
Official Codes, Documentation & Tutorials are available as :


