Recent trends in popularity of Data Science have kindled enormous research interests in data driven decision making. Researchers from industry as well as academia have expressed intense concern to propose and pursue novel techniques to address real time problems. As a result, everyone is keen to adopt the best methodology to design a credible approach analyzing data for resourceful insights. Advances in Deep Learning techniques have made it possible to extract insights from data with high accuracy.
However, adopting Deep Learning techniques has always been a challenge to researchers and academicians serving in academia in contrast to industry professionals. There are several factors that can be obstacles for an academician to pursue Deep Learning research. Basic requirements of Deep Learning require huge amount of data for training the models which in turn demands high end GPU-based hardware infrastructure for execution. Unlike the top tier institutions, most of the educational institutes seldom have these facilities. Thus, the execution of Deep Learning based techniques remains a dream for the Professors and researchers in those Institutions.
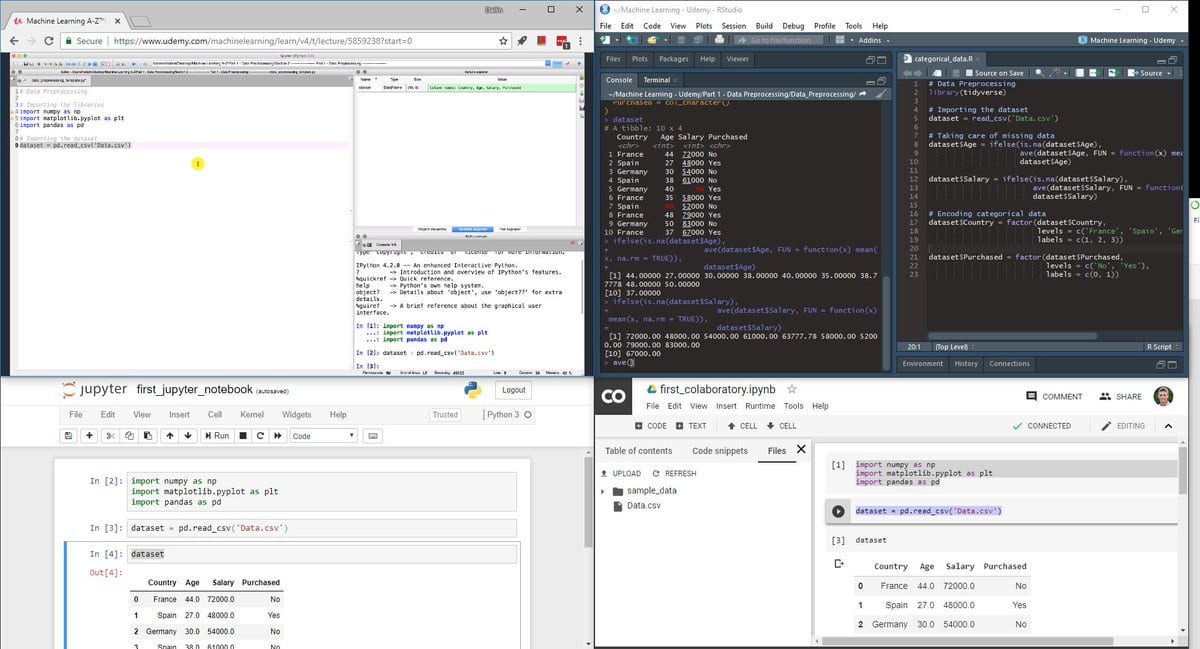
Nevertheless, there is a feasible solution to carry out data science research using deep learning with all the high end facilities by using Google Colaboratory. It is a one stop solution for all your deep learning based experimentation. One just needs an internet connection to avail the services offered by Google Colaboratory. This is a free cloud based offering with support for GPU based coding at no cost. It allows one to use all the popular libraries, namely, TensorFlow, PyTorch, Keras, and OpenCV. Google Colaboratory is based on the open source project Jupyter. The Colaboratory platform has extended its support for the most popular data science language, Python 2.6 and 3.7. However, currently there is no support offered for R and Scala.
In this article, we lay down the steps on how to use it:
1) Open any browser and type www.google.com
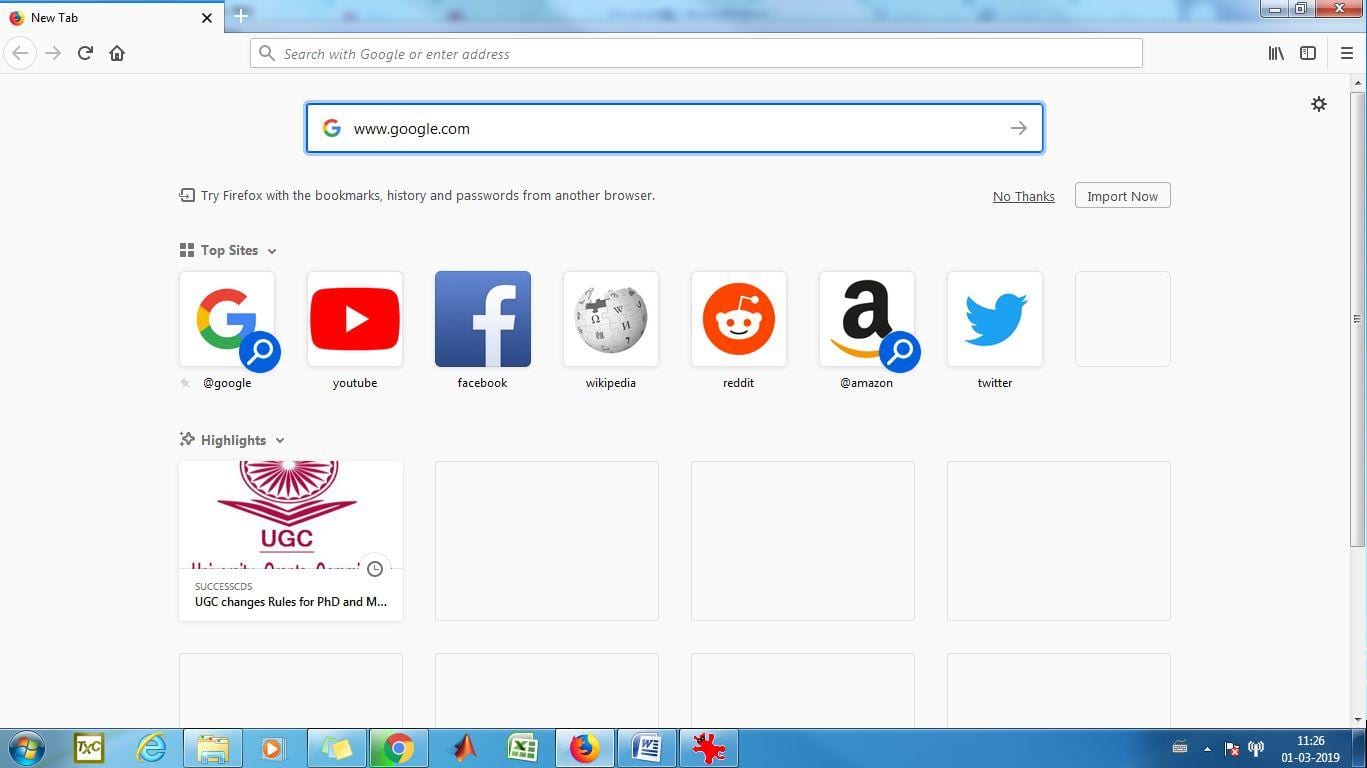
2) Click on the sign in button of the extreme right

3) Sign In to your account with username and password

4) Once you log in, type “Google Colab” in the Google search bar which will show the following search results

5) Now, click on search result “Welcome To Colaboratory – Colaboratory – Google”

6) You will be able to see the following screen
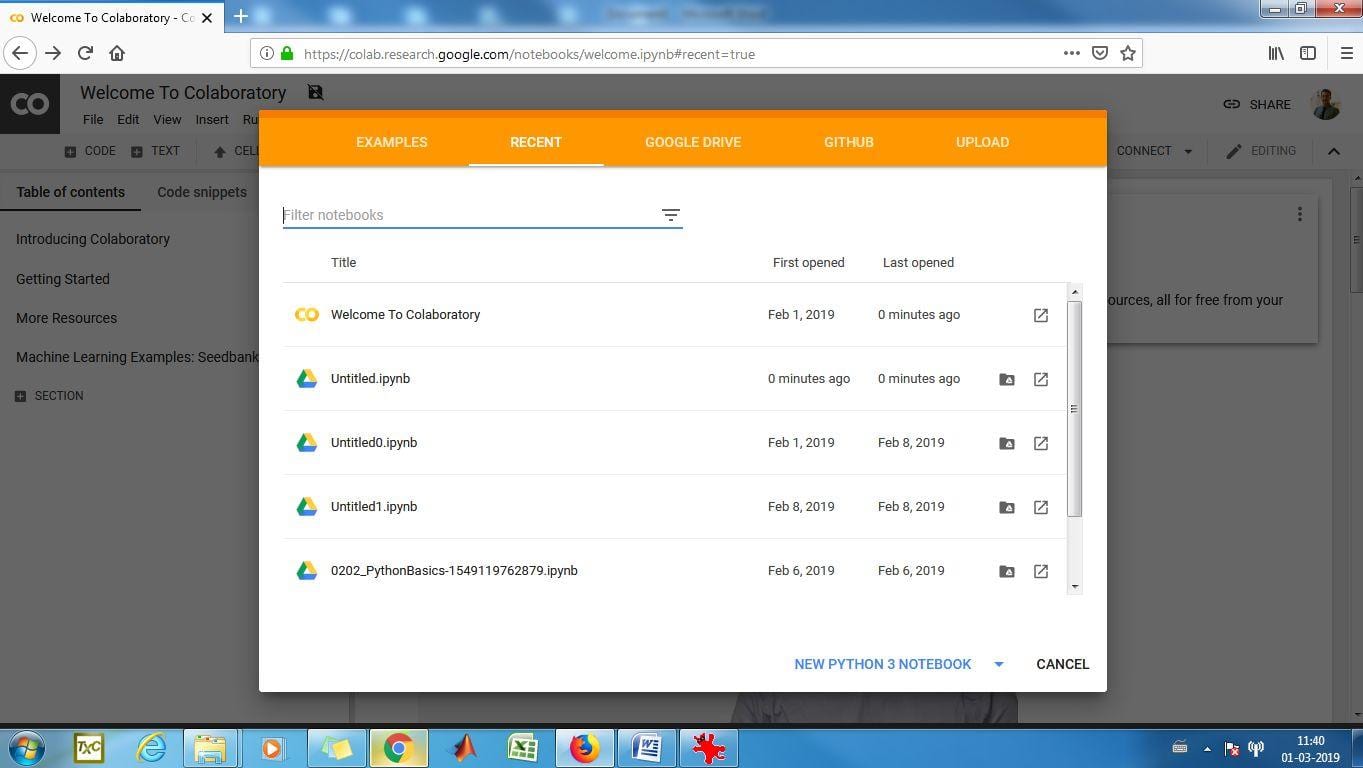
7)You can select Python 3 or Python 2 from the dropdown below. In this example, Python 3 is selected

8) Once done, it will create a new notebook for you

9) Notice the file extension. It’s “.ipynb” which is an “IPython” notebook format used in Jupyter notebooks. One can click on the top left corner on “Untitled2.ipynb” and can rename it
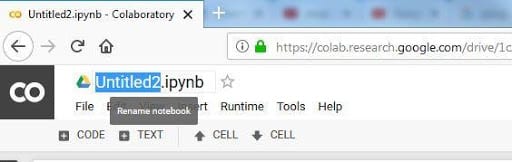
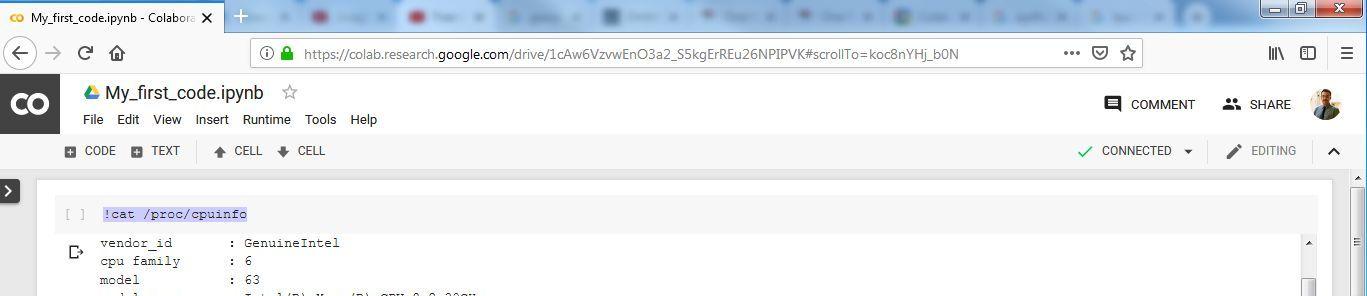
10) It is re-named it as “My_first_code.ipynb”
 11) We can now click on the cell and start writing code

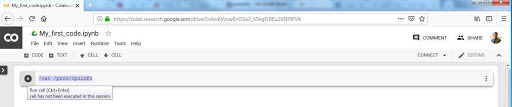
12) It will be interesting to know with our first line of code about the kind of server we are allotted with. Type ” !cat /proc/cpuinfo” and click the button on the extreme left of the cell. You may also press “CTRL+ENTER”

13) You will be amazed to find the output. You are allocated with two processors each of which are “Intel(R) Xeon(R) CPU @ 2.30GHz”. You can also see other necessary configurations in the output.

14) Now, we will see the capacity of RAM allocated to us by writing another line of code. We need to click on the CODE icon to generate a new cell for writing the code snippet

15) Type “!cat /proc/meminfo”. The output will show approximately 13 GB of RAM allocation

Thus, we have a system in our possession with two “” Intel(R) Xeon(R) CPU @ 2.30GHz” processors and 13 GB RAM !!!!
16) Now, the most exciting part! Where is the GPU ? It’s just a click away

17) Click Edit part to access “Jupyter Notebook Settings”. Click on “Notebook Settings”

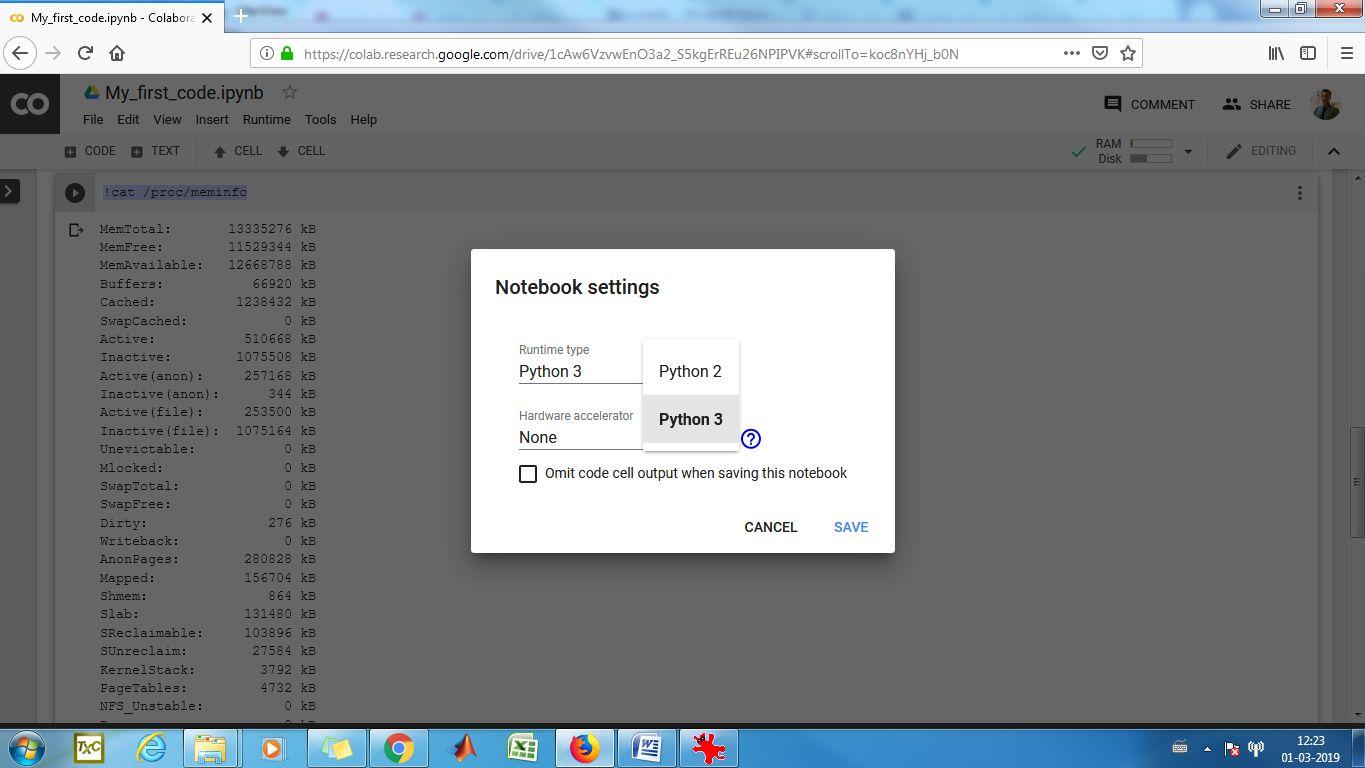
18) You can choose the Runtime Type here as Python 2 or Python 3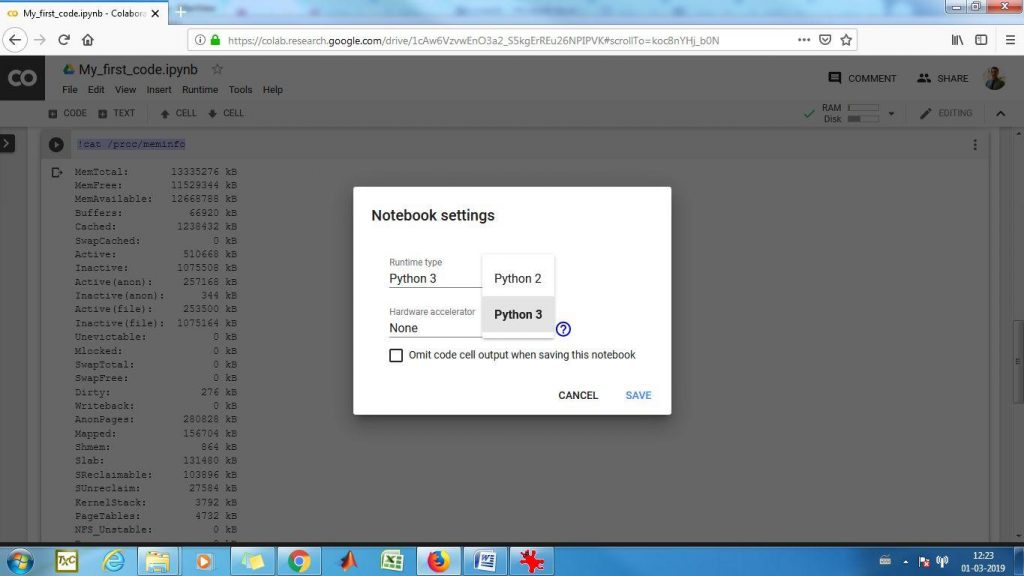
19) Just below Runtime Type is the option for “Hardware accelerator”. By default it is set to “None”
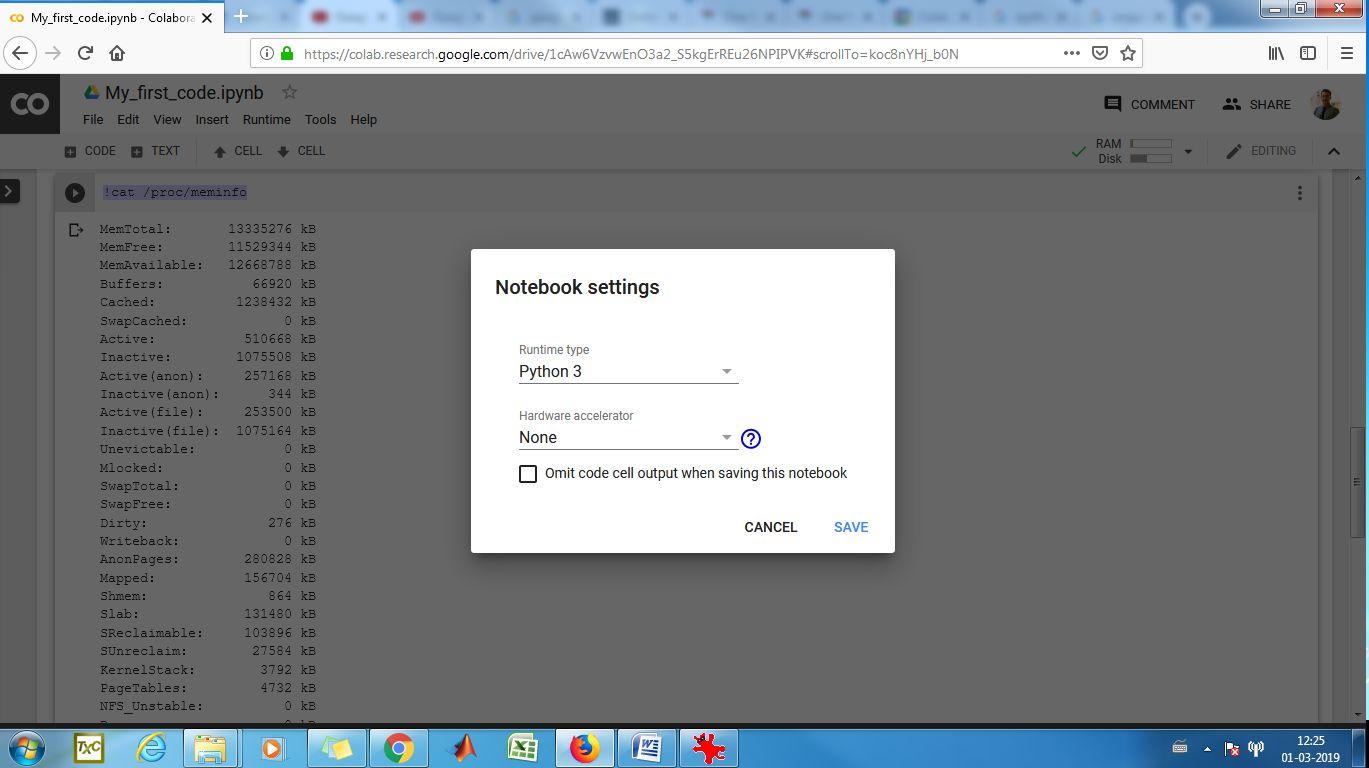
20) Click on the dropdown arrow on the right and you will find two options, namely, GPU and TPU
 21) Select “GPU” option and click “Save”
 22) You will find the Colaboratory getting connected to the GPU environment

23) Finally, you will find it connected
Now you can test and execute all your Deep Learning models using your favourite Python language in a GPU based system absolutely free. Do drop your feedback on the step-by-step guide and happy learning.