
Key takeaways
- Computers have limited processing power for large data, constrained by their RAM capacity.
- Cluster computing enhances performance by combining multiple machines to share resources.
- Apache Spark is designed for cluster computing, offering data-parallelism and fault-tolerance.
- It includes APIs for various programming languages and tools for SQL, machine learning, and streaming.
- The article provides guidance on setting up Apache Spark on Amazon Web Services.
A computer is a powerful machine when it comes to processing large amounts of data faster and efficiently. But considering the no limit nature of data, the power of a computer is limited. In the machine learning context, a machine or computer can efficiently handle only as much data as its RAM is capable of holding, which is very limited. There is a limit to which a machine can be upgraded.
But having multiple machines that work together is a whole different story. Cluster computing combines the computing power of multiple machines, sharing its resources for handling tasks that are too much for a single machine.
Apache Spark is a framework that is built around the idea of cluster computing. It allows data-parallelism with great fault-tolerance to prevent data loss. It has high-level APIs for programming languages like Python, R, Java and Scala. It also supports a rich set of higher-level tools including Spark SQL for SQL and structured data processing, MLlib for machine learning, GraphX for graph processing, and Spark Streaming.
In this article, we will learn to set up an Apache Spark environment on Amazon Web Services.
Setting Up Spark in AWS
The first thing we need is an AWS EC2 instance. We have already covered this part in detail in another article. Follow the link below to set up a full-fledged Data Science machine with AWS.
Make sure to perform all the steps in the article including the setting up of Jupyter Notebook as we will need it to use Spark. Once you are done through the article follow along here.
Installing Dependencies
To install spark we have two dependencies to take care of. One is java and the other is scala. Let's install both onto our AWS instance.
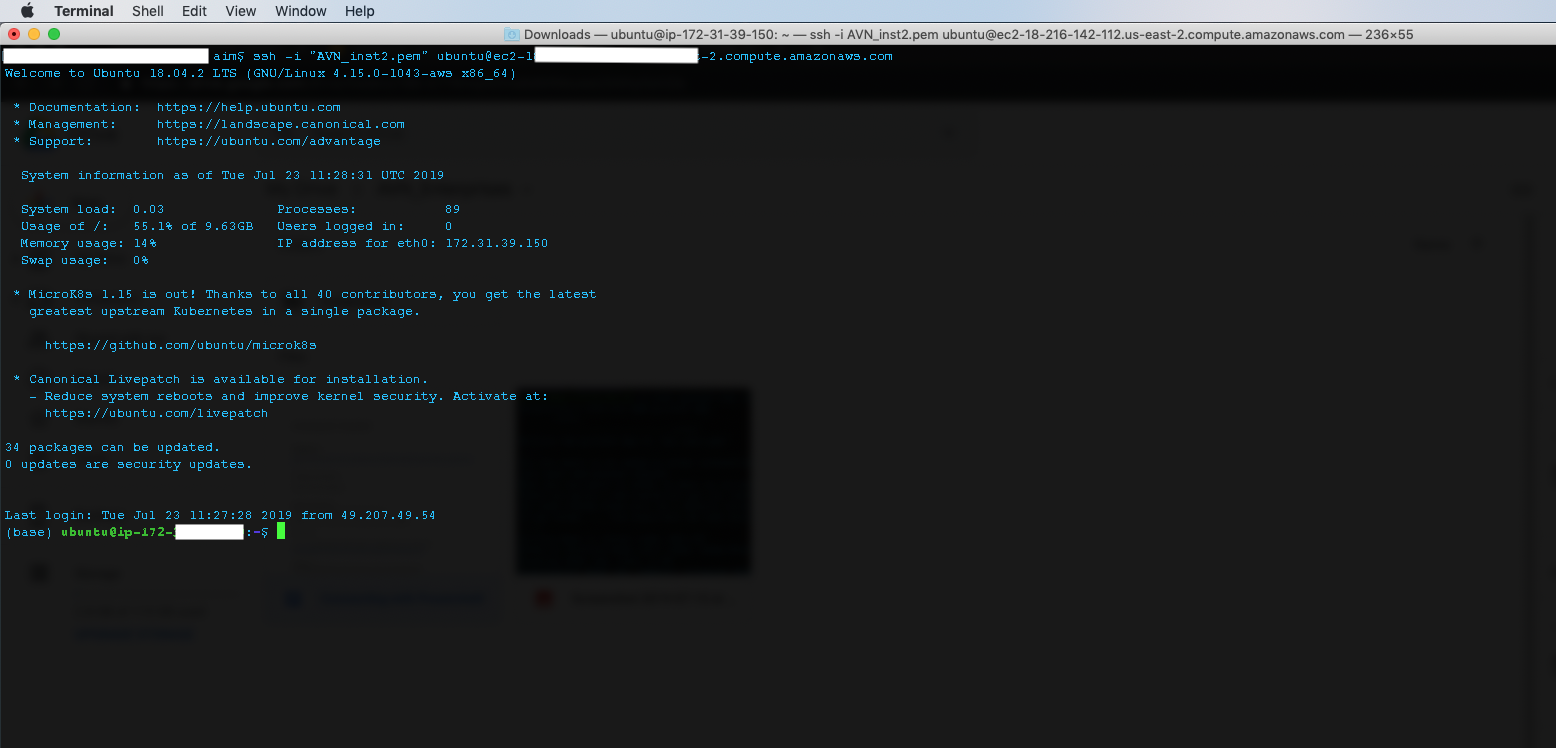
Connect to the AWS with SSH and follow the below steps to install Java and Scala.
To connect to the EC2 instance type in and enter :
ssh -i "security_key.pem" ubuntu@ec2-public_ip.us-east-3.compute.amazonaws.com
Make sure to put your security key and your public IP correctly.
On EC2 instance, update the packages by executing the following command on the terminal:
sudo apt-get update
Install Java with the following command
sudo apt install default-jre
Verify the installation by typing java --version.
You will be able to see a similar output as follows:

Install Scala by typing and entering the following command :
sudo apt install scala
Verify by typing scala -version.

We also need to install py4j library which enables Python programs running in a Python interpreter to dynamically access Java objects in a Java Virtual Machine.
To install py4j make sure you are in the anaconda environment. You will see ‘(base)’ before your instance name if you in the anaconda environment. If not type and enter conda activate.To exit from the anaconda environment type conda deactivate
Once you are in conda, type pip install py4j to install py4j.
Installing Spark
Head to the downloads page of Apache Spark at https://spark.apache.org/downloads.html and choose a specific version and hit download, which will then take you to a page with the mirror links. Copy one of the mirror links and use it on the following command to download the spark.tgz file on to your EC2 instance.
wget http://mirrors.estointernet.in/apache/spark/spark-2.4.3/spark-2.4.3-bin-hadoop2.7.tgz

Extract the downloaded tgz file using the following command and move the decompressed folder to the home directory.
sudo tar -zxvf spark-2.4.3-bin-hadoop2.7.tgzmv spark-2.4.3-bin-hadoop2.7 /home/ubuntu/
Set the SPARK_HOME environment variable to the Spark installation directory and update the PATH environment variable by executing the following commands
export SPARK_HOME=/home/ubuntu/spark-2.4.3-bin-hadoop2.7export PATH=$SPARK_HOME/bin:$PATHexport PYTHONPATH=$SPARK_HOME/python:$PYTHONPATH
The Spark Environment is ready and you can now use spark in Jupyter notebook.
Make sure the PATH variable is set correctly according to where you installed your applications. If your overall PATH environment looks like what is shown below then we are good to go,
PATH:
/home/ubuntu/spark-2.4.3-bin-hadoop2.7/bin:/home/ubuntu/anaconda3/condabin:/bin:/usr/bin:/home/ubuntu/anaconda3/bin/
PYTHONPATH:
/home/ubuntu/spark-2.4.3-bin-hadoop2.7/python:
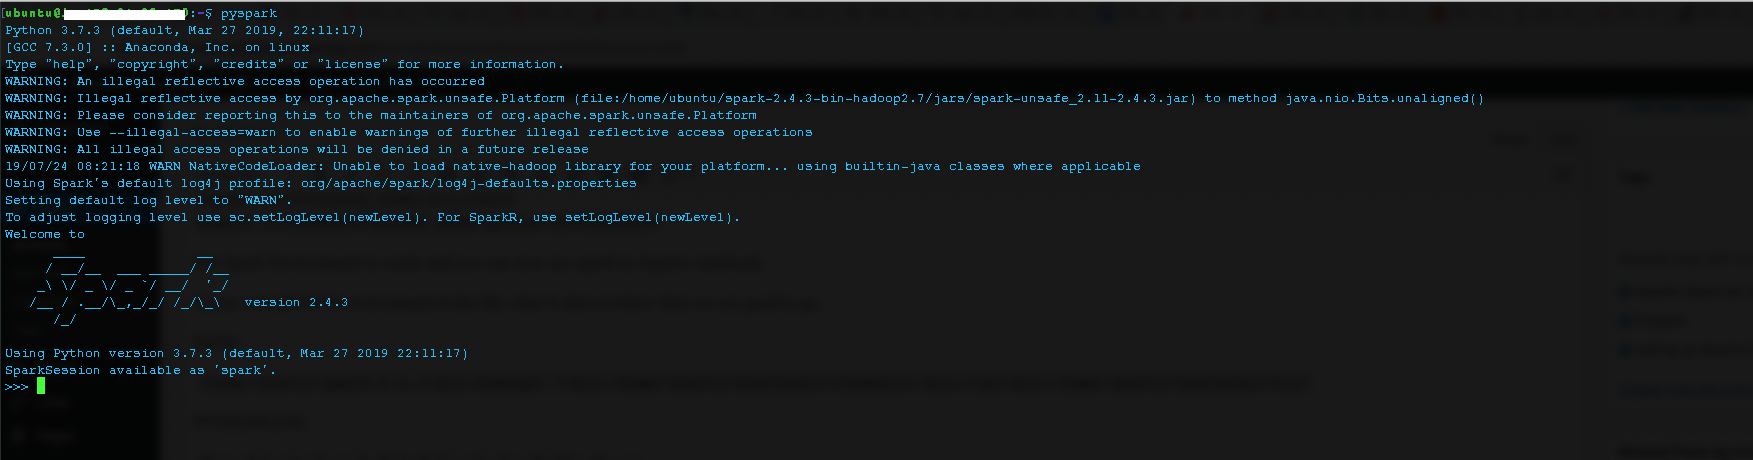
Type and enter pyspark on the terminal to open up PySpark interactive shell:
Head to your Workspace directory and spin Up the Jupyter notebook by executing the following command.
jupyter Notebook
Open the Jupyter on a browser using the public DNS of the ec2 instance.

Import the PySpark module to verify that everything is working properly.
Happy coding!