In simple terms, computer vision enables our computer to process and visualize the data. It is a very complicated task to make the computer learn from the image data. From the day we are born, we are training our brain continuously with examples, so after a certain point of time we are able to recognize objects. Similarly we need to train our computers by feeding the data. Until a few years ago, computer vision only worked with limited capacity. But now, with the availability of larger datasets and hardware, it has grown exponentially.
Through this article, we will demonstrate how to create our own image dataset from a video recording. This labelled data set can be used in the popular computer vision problems such as object detection, image segmentation and image classification.
What will you learn in this article
- Creating your own dataset.
- Introduction to annotation tool.
- Preparing Segmentation dataset.
- Preparing object detection dataset.
Creating our own dataset
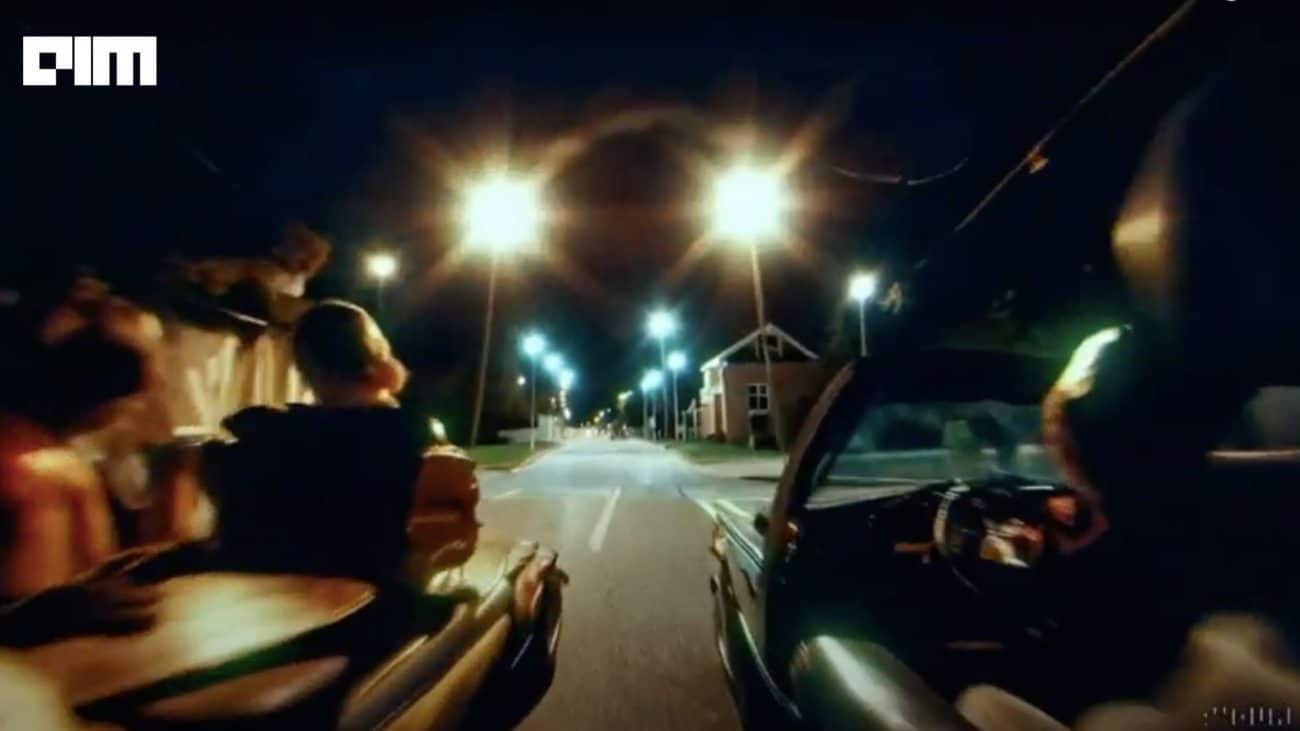
Let’s take an example where an autonomous vehicle collects the data. Firstly we fix the camera to the vehicle and we record the video while the vehicle is moving and we get a video file. As we know video is the combination of multiple frames, by writing a few lines of code in python we can divide the video file into frames.
In the below code snippet, we will convert a video file into frames. We have taken a random whatsapp video in this task.
import cv2
import numpy as np
import os
cap = cv2.VideoCapture('/content/WhatsApp Video 2020-07-28 at 9.02.25 AM.mp4')
try:
if not os.path.exists('data'):
os.makedirs('data')
except OSError:
print ('Unable to directory ')
currentFrame = 0
while(True):
ret, frame = cap.read()
name = './data/frame' + str(currentFrame) + '.jpg'
print ('Creating...' + name)
cv2.imwrite(name, frame)
currentFrame += 1
cap.release()
cv2.destroyAllWindows()
Output
As we can see in the above output screenshot, the corresponding image files are generated.
Introduction to Data Annotation tool
In the Data annotation tool, we will label the objects in the image. We mostly use VGG image annotator for annotations which is an open-source tool that can be used to draw the bounding boxes in the image and add textual information for the objects in the image. Using these labeled data we can train our deep learning model.
After opening the VGG image annotator tool, we need to add our images, through add files or by Adding URL(path of images).
Then we need to add the list of objects we need to annotate and we can use the same list of objects for both object detection and segmentation tasks as shown in the below image.
Preparing Object Detection dataset
For object detection data, we need to draw the bounding box on the object and we need to assign the textual information to the object.
In the left top of the VGG image annotator tool, we can see the column named region shape, here we need to select the rectangle shape for creating the object detection bounding box as shown in the above fig.
As you can see in the above image, we labeled the image by drawing the bounding box region of the person and the region of the bike. After drawing these regions, we can download the data in CSV format, JSON format, or COCO format. By sending the raw images and any downloaded format, we will be able to train our deep learning models.
Preparing Segmentation dataset
To create a segmentation dataset, we need to label the data considering each pixel, we need to draw to the exact shape of the object, and then we need to label it similar to object detection.
In the region shape, we use a polyline for labeling segmentation data because using a rectangle bounding box we can’t draw bounding boxes in considering each pixel.
As you can see in the above image, we segmented the person using a polyline. After drawing these regions, we can download the data in either CSV format, JSON format, or COCO format. By sending the raw images and any downloaded format, we will be able to train our deep learning models.
As you can see from above fig, in the top left we can see annotation column by clicking on export option we can download our annotated data
Conclusion
In the above demonstration, we clearly explained how to generate our own dataset for training our deep learning models. There are tons of data around us but there is a very little amount of labelled data. We demonstrated an easy way to create our own labelled image dataset to train a deep learning model in the task of object detection or image classification.


